Creating And Deleting Workflows
Creating a workflow in ApertureDB Cloud
To create a workflow in ApertureDB Cloud, first log in to ApertureDB Cloud and create an ApertureDB instance, if you have not already done so.
When you create a new instance, you will be given an opportunity to create a workflow to go with it. You can also add a workflow to an existing instance.
- Add workflow when creating instance
- Add workflow to existing instance
![[object Object]](/assets/images/create_workflow_with_instance-07bd90691aaec23de4e2820b480492f8.png)
1
2
- Select a workflow from the catalog
- Click the down arrow button at the right.
![[object Object]](/assets/images/add_this_workflow-672b703fa3df3178cccb308d171c733d.png)
3
4
- Fill in the fields (see workflow documentation for details)
- Click the large blue button
![[object Object]](/assets/images/add_workflow_confirm-6f9dcf855c01f07bfdea594ff310a972.png)
5
- You will be asked to confirm the creation of the new workflow
![[object Object]](/assets/images/finish_instance_creation-208075a892358df3d46362c9cc087e75.png)
6
- You will now be able to finish instance creation
![[object Object]](/assets/images/instance_show_details-efec7a22acf7ef438a3906c9e8a5de67.png)
1
2
3
- Click on the Instances button at the left
- Find your instance on the right
- Click on Show Details
![[object Object]](/assets/images/add_workflow-c5dd9ad823e36aa826fc7809e499a77e.png)
4
- In the Instance Details view, click on "Add Workflow"
![[object Object]](/assets/images/instance_select_workflow-50dcb8290f004a51ef44cf20abd132de.png)
5
6
- Select a workflow from the list
- Click on the down arrow
7
8
- Fill in the field; see the documentation for the specific workflow for more information on the required fields.
- Click the large blue button
9
- You will be asked to confirm the creation of the new workflow
![[object Object]](/assets/images/workflow_added-23252d2c4fa63da76ff9fe07d26029dd.png)
10
- You will now see a confirmation that your workflow has been successfully added; click on Continue to continue
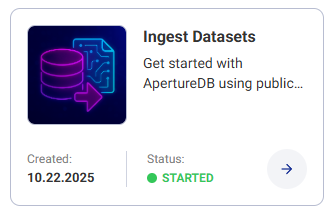
Managing workflow state
The state of the workflow will change to notify you it is ready for use, finished processing, or has run into an error.
When a workflow has started, processing is started, and some results may be available.
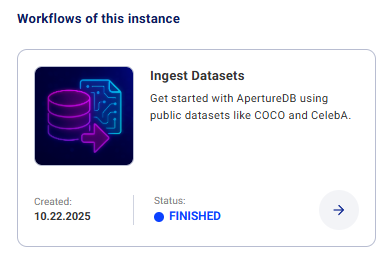
When a workflow is finished, processing is complete, and it finished without errors that were unrecoverable.
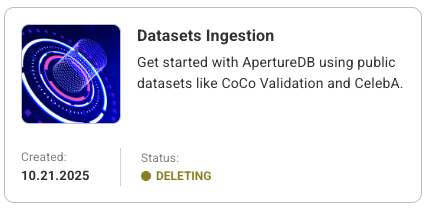
Deleting a workflow
There are mutiple ways to find a workflow in the ApertureDB Cloud UI.
- From Workflows Hub
- From Instances page
![[object Object]](/assets/images/workflows_hub-7a928b599cfa8a4a2a4132aa7b913bc6.png)
1
2
3
- To find an existing workflow. open the Workflows Hub, which will show all of your active workflows
- Find your workflow
- Click on Details to select a specific workflow
1
2
3
- Click on the Instances button
- Find the instance associated with the workflow
- Click Show Details
4
5
- Find the workflow you want to delete
- Click on the right arrow
![[object Object]](/assets/images/delete_workflow-fff6aba15cfaafa838d505feeaff7fd3.png)
6
7
- Click on the three dots
- Select Delete Workflow from the popup menu
![[object Object]](/assets/images/delete_workflow_confirmation-e14d4c926bc0fa258f75f416de0e759a.png)
8
- You will have to confirm the workflow deletion by clicking on DELETE
Stopping a workflow
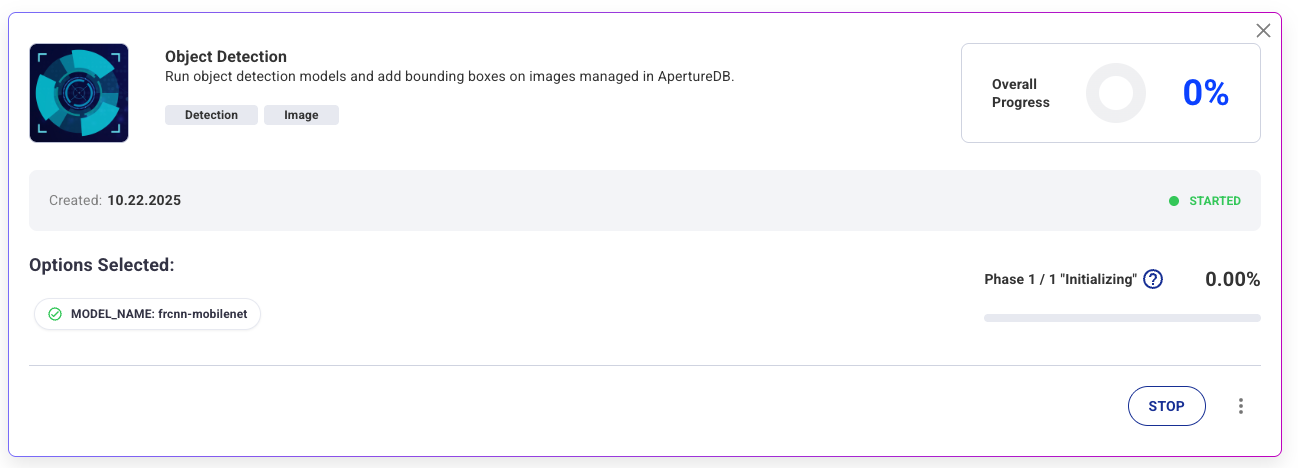
1
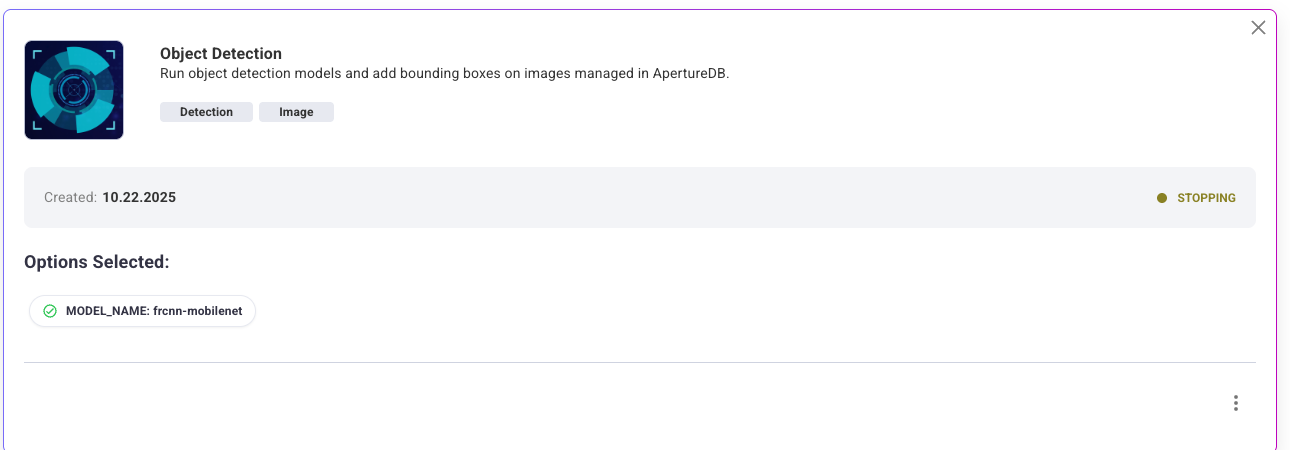
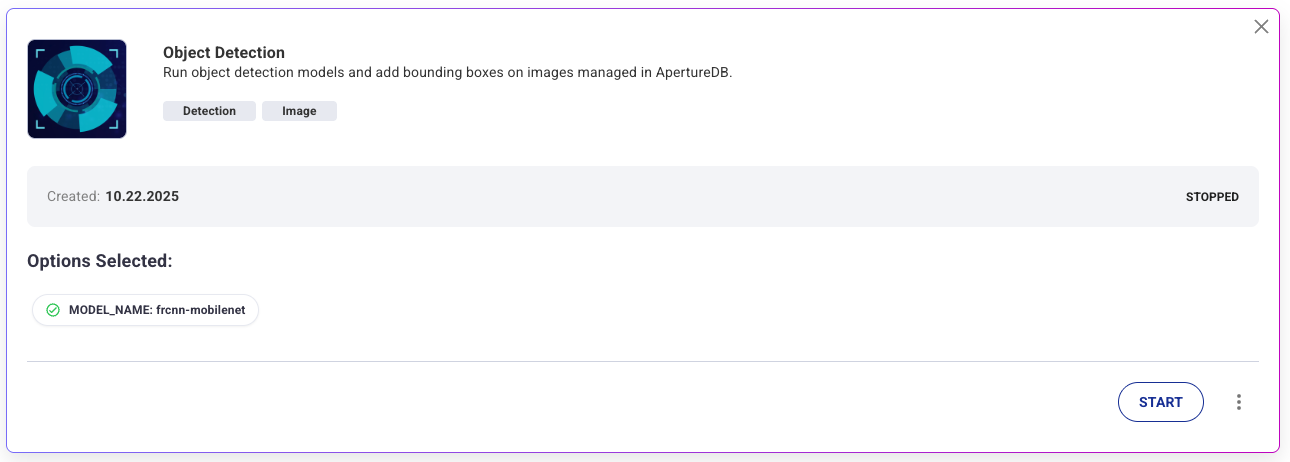
1
Connecting to a workflow
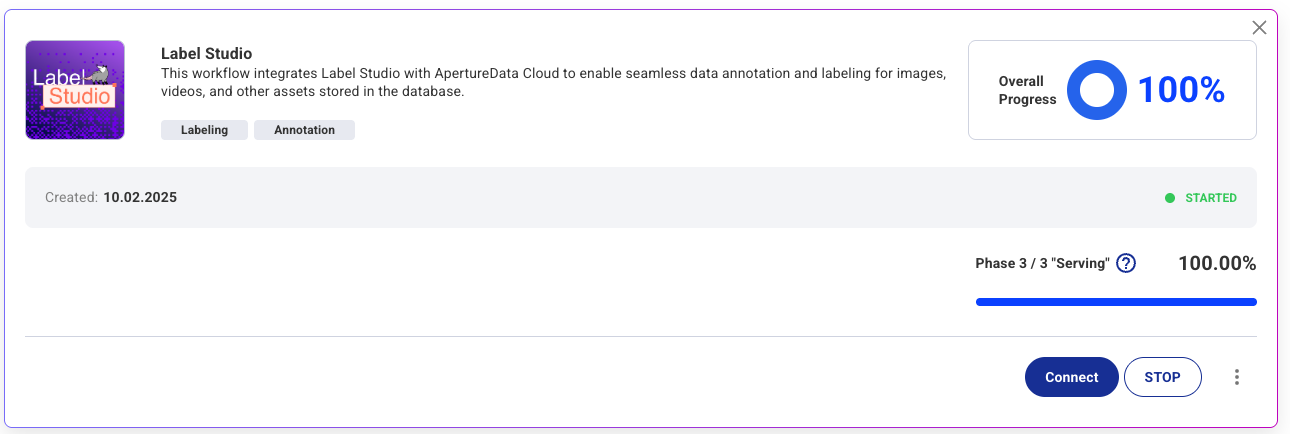
1
Connection Helper

1
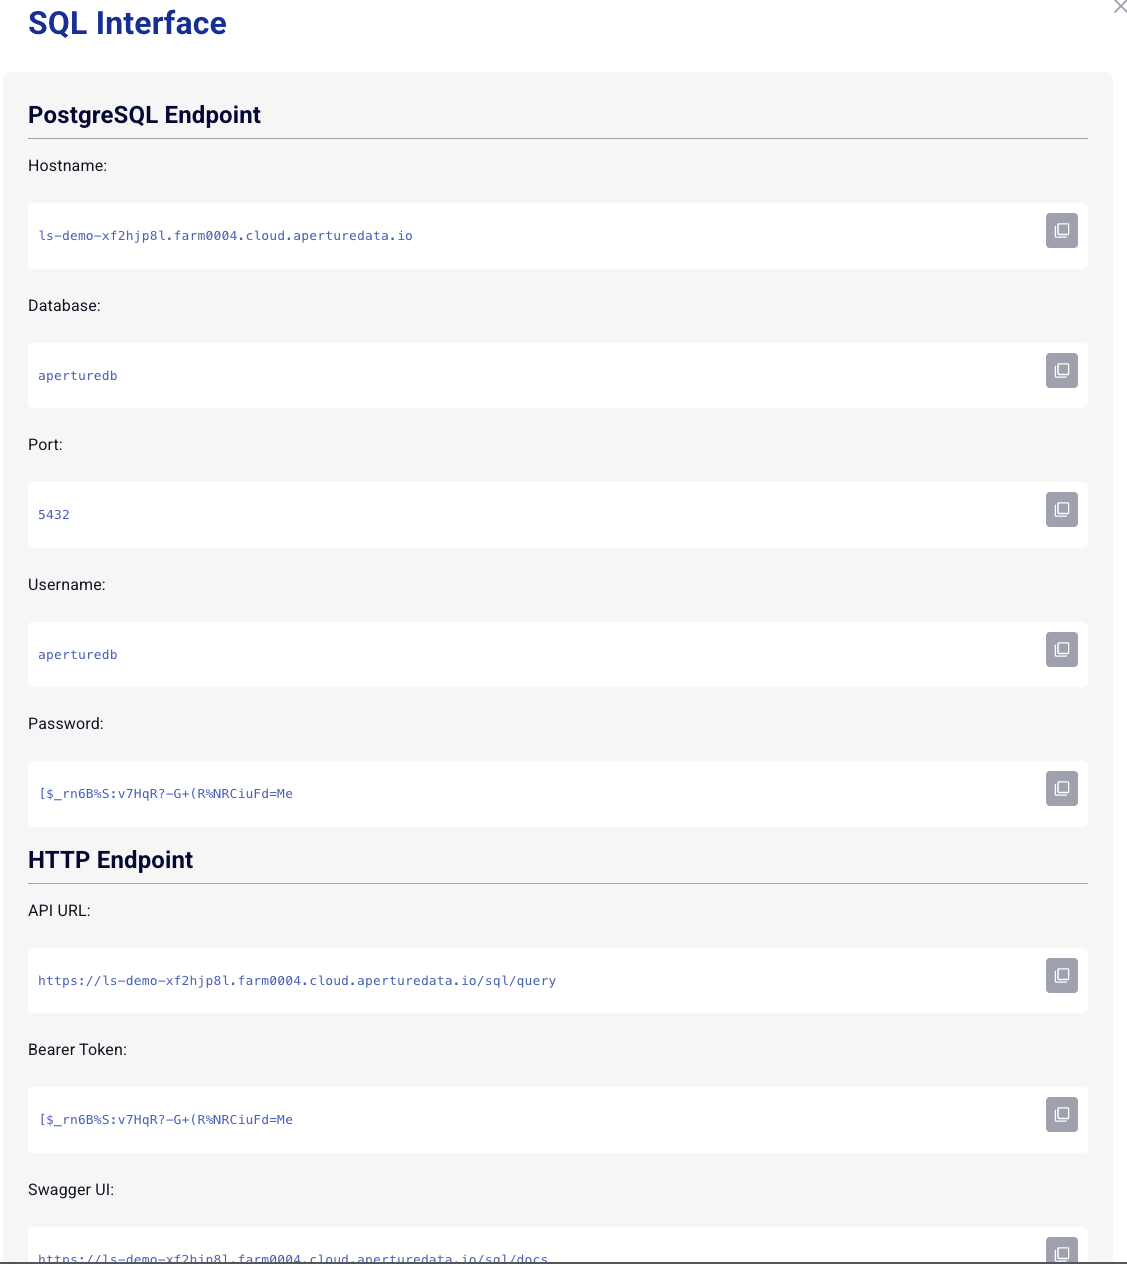
1