Detect Faces
This workflow creates bounding boxes for faces decteced within images in your ApertureDB using a pre-trained model. Uses for this workflow include cropping faces from images, finding similar faces or classfying images based on the faces detected.
Prerequisites
Before running this workflow, you should have images in your database which have human faces. You can load images of this type into your database by running the Ingest Datasets workflow using the faces/CelebA dataset.
This dataset will be used as the example here.
Configuring
The option available for this workflow is:
- Whether to generate and store an embedding for each face detected.
Running in ApertureDB Cloud
These instructions assume a standard cloud setup; for general information on creating workflows in ApertureDB Cloud see Creating and Deleting Workflows.
This is the view you will see when you go to instantiate the Face Detection workflow:
![[object Object]](/assets/images/configure_face_detection-128135870b819d673a4a7d331ccbb209.png)
- Decide whether you want to generate an embedding for each face extracted
- Click the blue button at the bottom.
Once you have selected your options, click "Submit". Your workflow will be created and will start running.
Running in Docker
All available options to the workflow are documented in the workflow README. Database access configuration is explained in Common Parameters.
The GENERATE_EMBEDDINGS option is the item described in the configuration section above.
Results
Once the workflow has started ( see Managing Workflow for information on workflow states ), you can view results as they appear.
Open the Web UI for your instance.
You will see Bounding Boxes being added.
![[object Object]](/assets/images/face_detection_webui_results-8b9397858733555ef8a5da74c21682a3.png)
- Bounding Box will increase in number as the workflow runs
- Switch to Image Search to see the results with their images
After switching to the "Image Search" tab, click on "Run" and click on an image. The popup will show you the faces detected in the images.
![[object Object]](/assets/images/face_detection_webui_image_search-98a999bfcbf42defcf7847cb57eecfe9.png)
- Click on Run to Search Images
- Click on an Image to show details and bounding boxes
Finally, when you click on the image, you will get a popup similar to this.
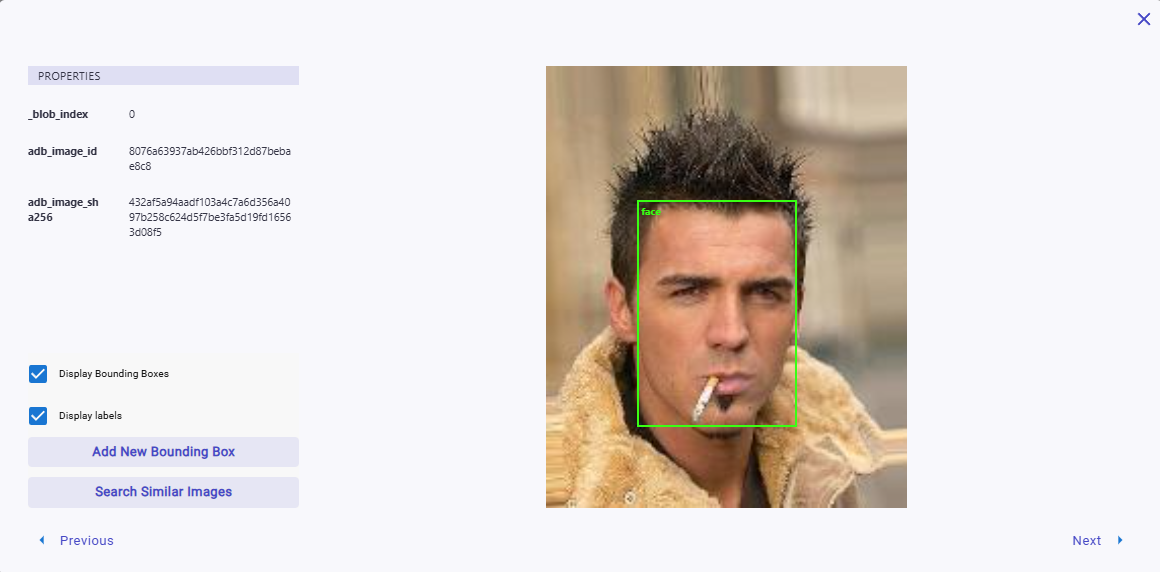
The green box verifies that a face has been detected - 'face' in the top left is of the box is also the label of the bounding box in the system.
Generated Embeddings
If you enabled embedding generation, follow these instructions to verify the embedding generation.
First enable the Jupyter Notebooks workflow.
Then go to the facedetection.ipynb Notebook, and follow the "Image from Ingest Dataset" directions.
When you complete the notebook, your results should look like the following image.
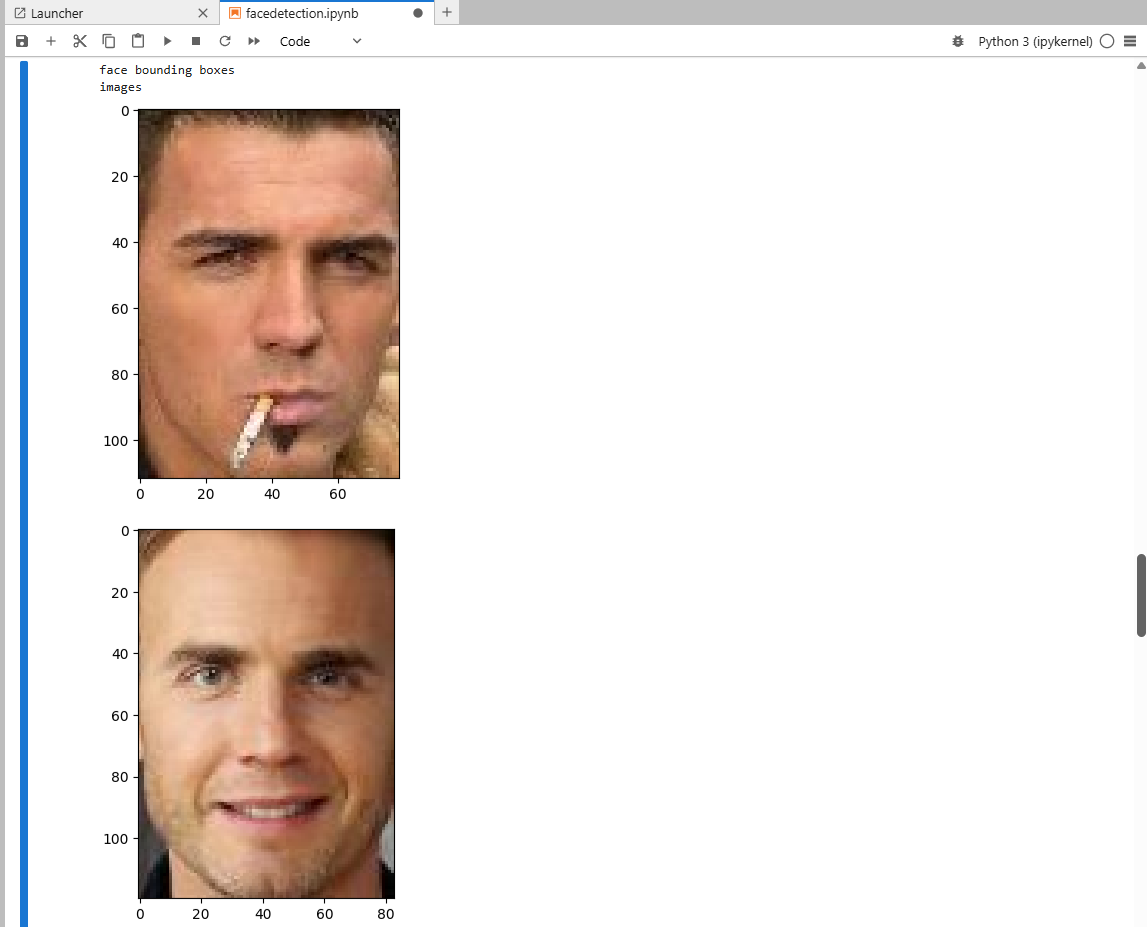
The similarity search uses the wf_facenet_processed embedding set, and verifies
that embedding are successfully generated.
Troubleshooting
-
There are no images in the Web UI
Check that you have inserted images, and use the dataset options in Prerequisites if problems persist.
-
There are no bounding boxes on my images in the Web UI
If the workflow has not finished running, it is possible the image you are looking at has not been processed yet. If the count of bounding boxes in the overview page of the Web UI is going up, try selecting a differerent image or waiting.
-
Bounding Boxes are wrong or missing for certain images
If boxes are wrong or missing for images, the model may have failed on those images.
-
Embeddings missing
Ensure you are using the correct name:
wf_facenet_processed. If Descriptor count is greater than when you started, this is a good indication the workflow has generated them.